1. 設置設定、安裝檔案基本目錄
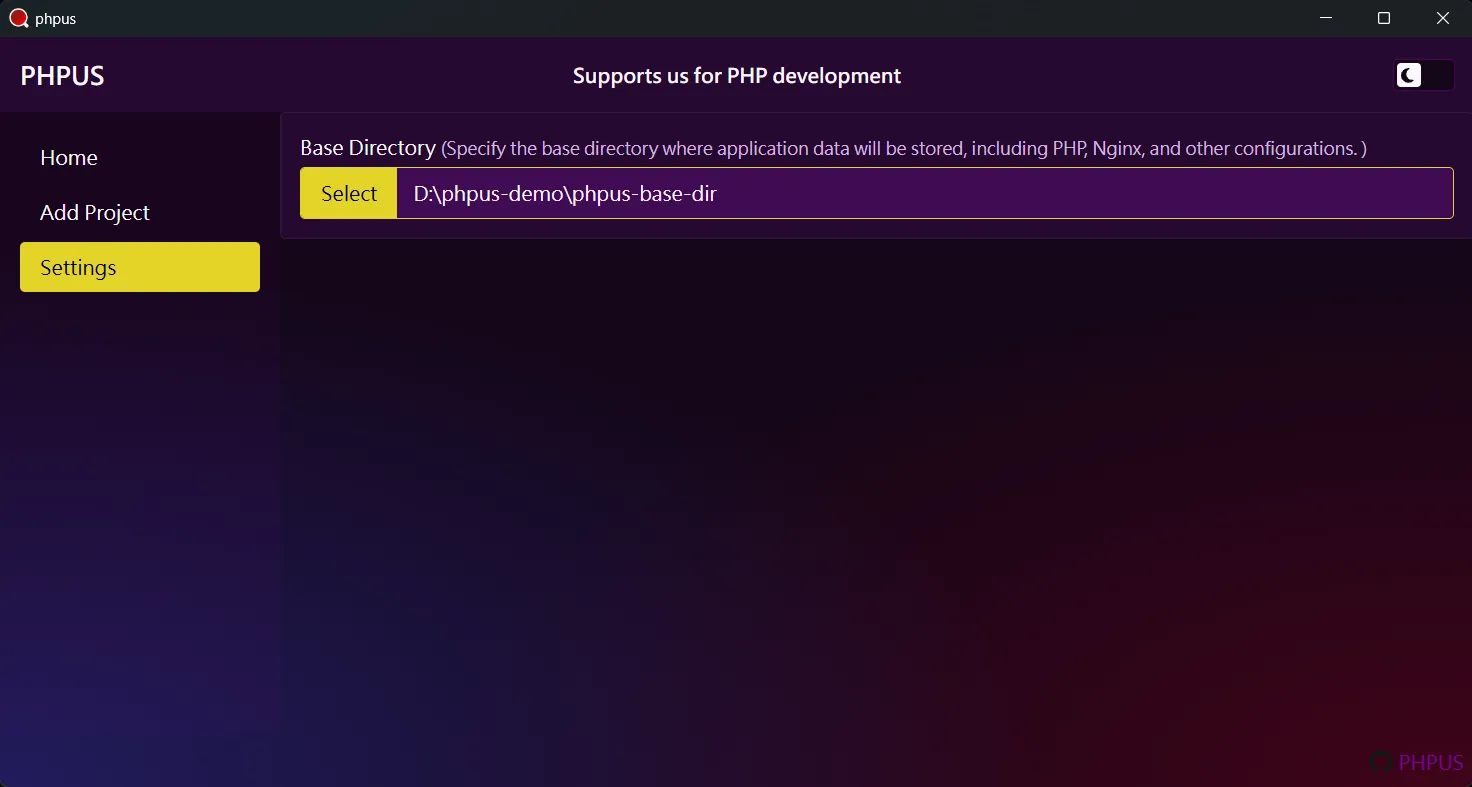
首先,應設定基本目錄,請點擊左側 Settings 選單至 Settings 頁面做設定。此目錄將集中存放您的設定與安裝檔案,包括:各版本 PHP 檔案、PHP 擴展、php.ini、網頁伺服器檔案、以及網頁伺服器設定。
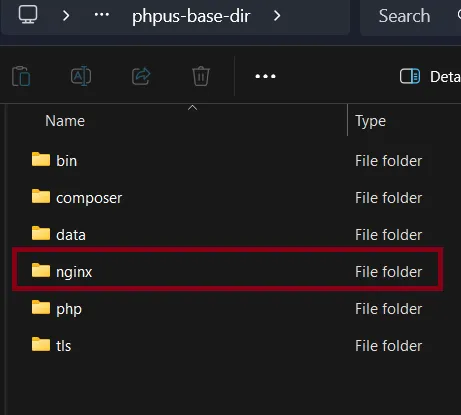
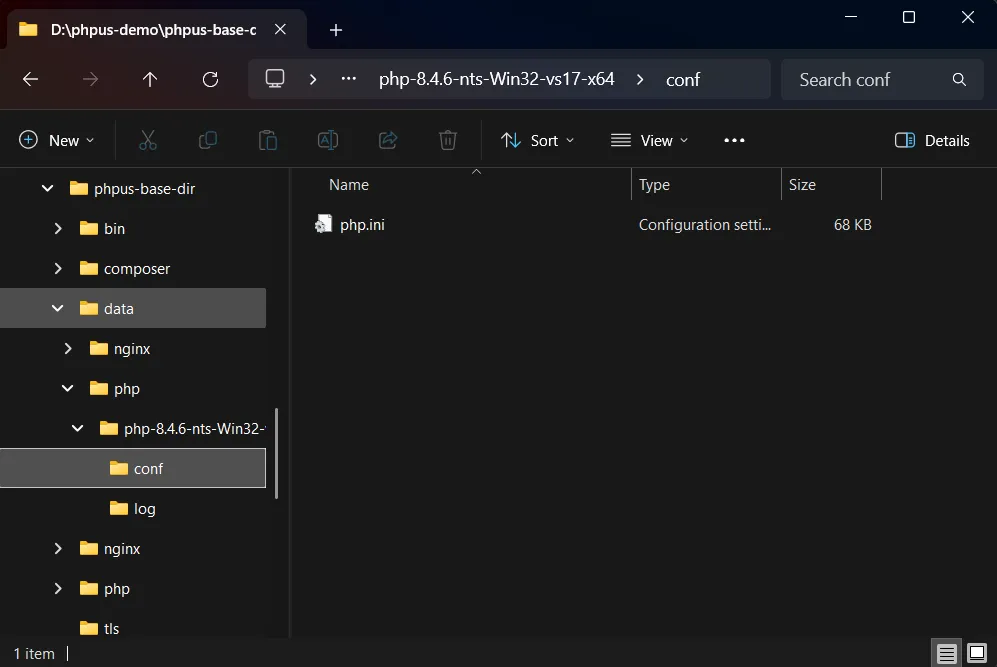
設定後,應用程式會在基本目錄底下中建立預設的目錄架構,如下圖。其中
php 是用來存放不同版本 PHP 安裝檔案的地方;
nginx 用於存放不同版本 Nginx 安裝檔案;
data 則是存放 PHP 以及 Nginx 設定檔案、log
檔案以及與此應用程式相關檔案的地方。

在一開始尚未設定基本目錄路徑時,應用程式會將基本目錄設定在應用程式執行檔案目錄下的
[PHPUS app path]/base_dir位置。
2. 新增專案
要到新增專案頁面,請點選左側 Add Project 選單;或尚未有任何專案時,首頁會有 Add Project 按鈕,點擊即可進入新增專案頁面。

先準備當作範例的專案,這邊我從 GitHub - phpus-laravel-12.x-demo 上 clone 了一個範例專案。

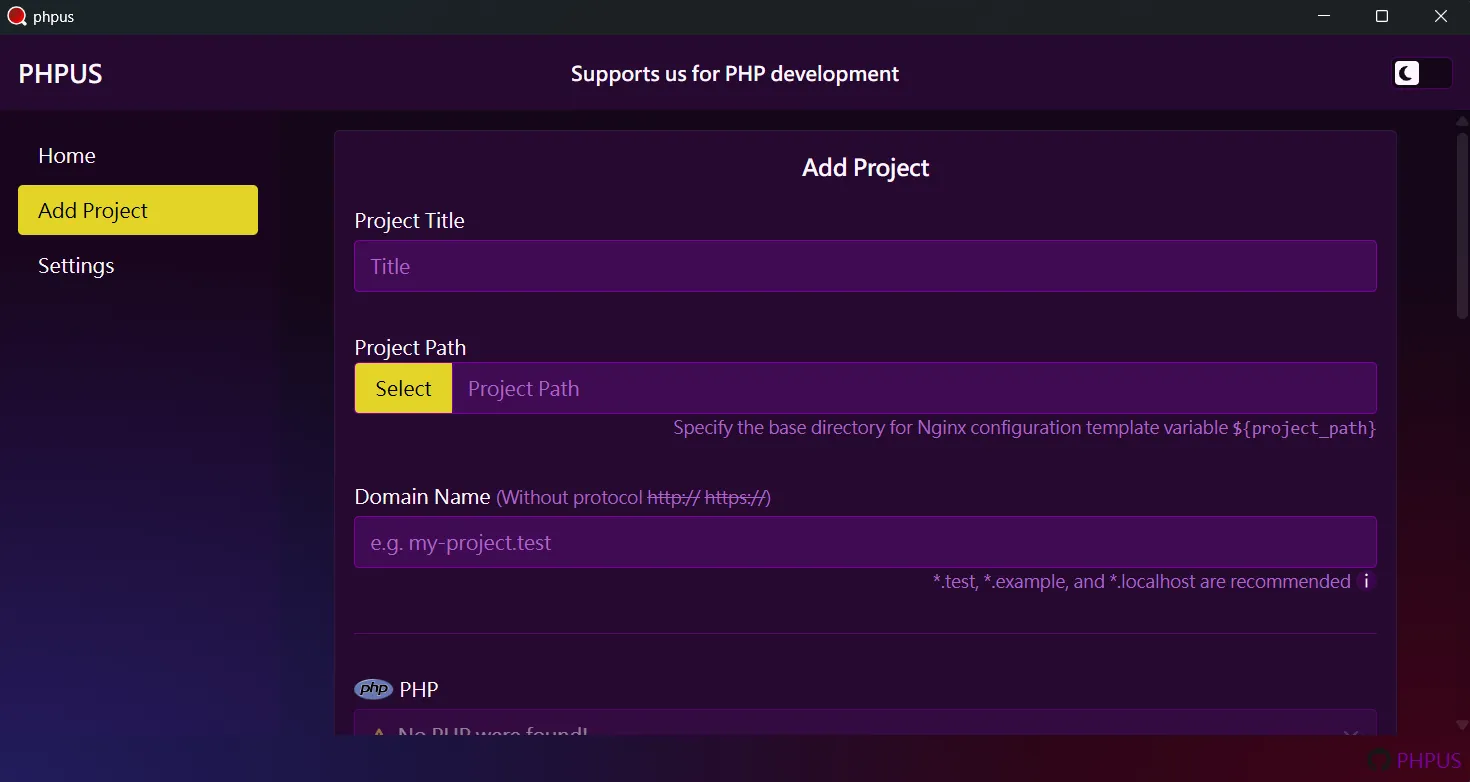
2.1. 填寫專案基本資料
Project Title 為專案名稱;
Project Path則為 PHP 專案的路徑;
Domain Name 則是與專案網頁 URL 相關。


2.4. 設定 Nginx Conf
如為 Laravel 專案,直接使用預設的樣板 conf
就可以了。樣板中有
${[variable]}
代表在產生此專案的 Nginx 設定檔時會將實際的值注入進去。
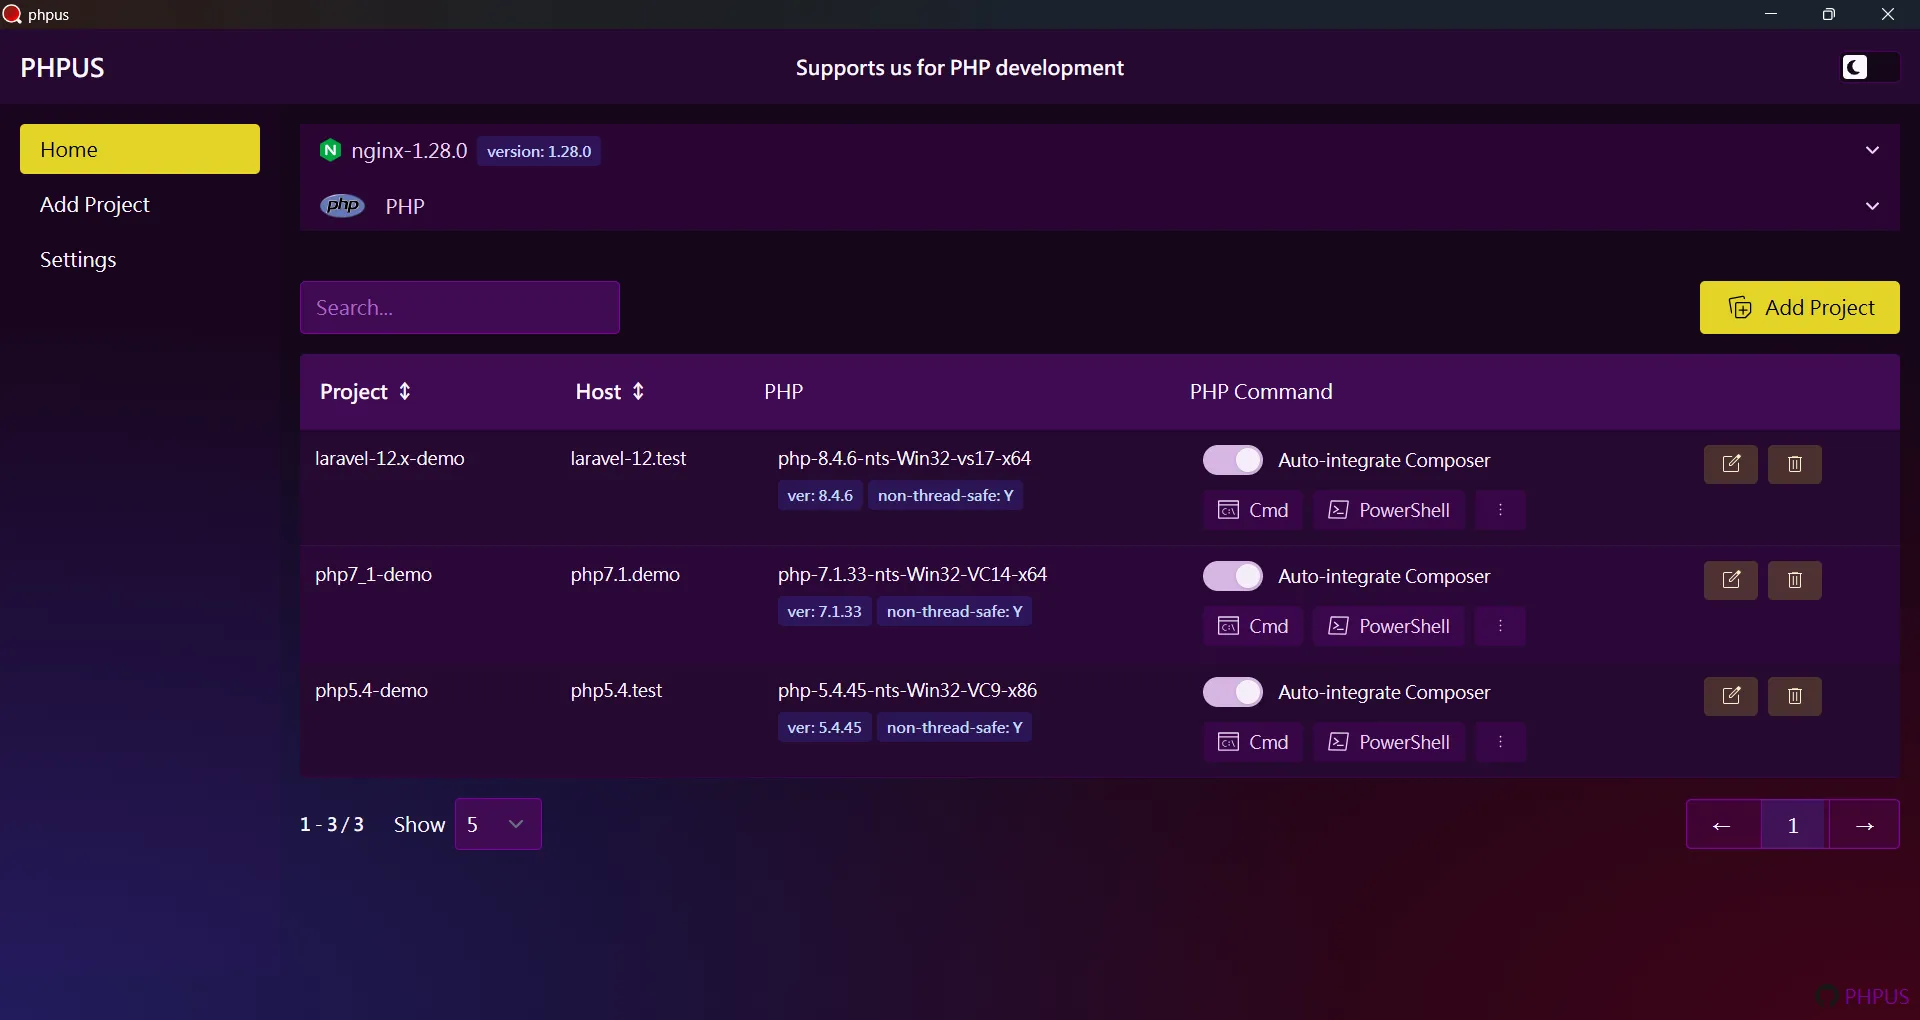
2.5. 完成新增專案
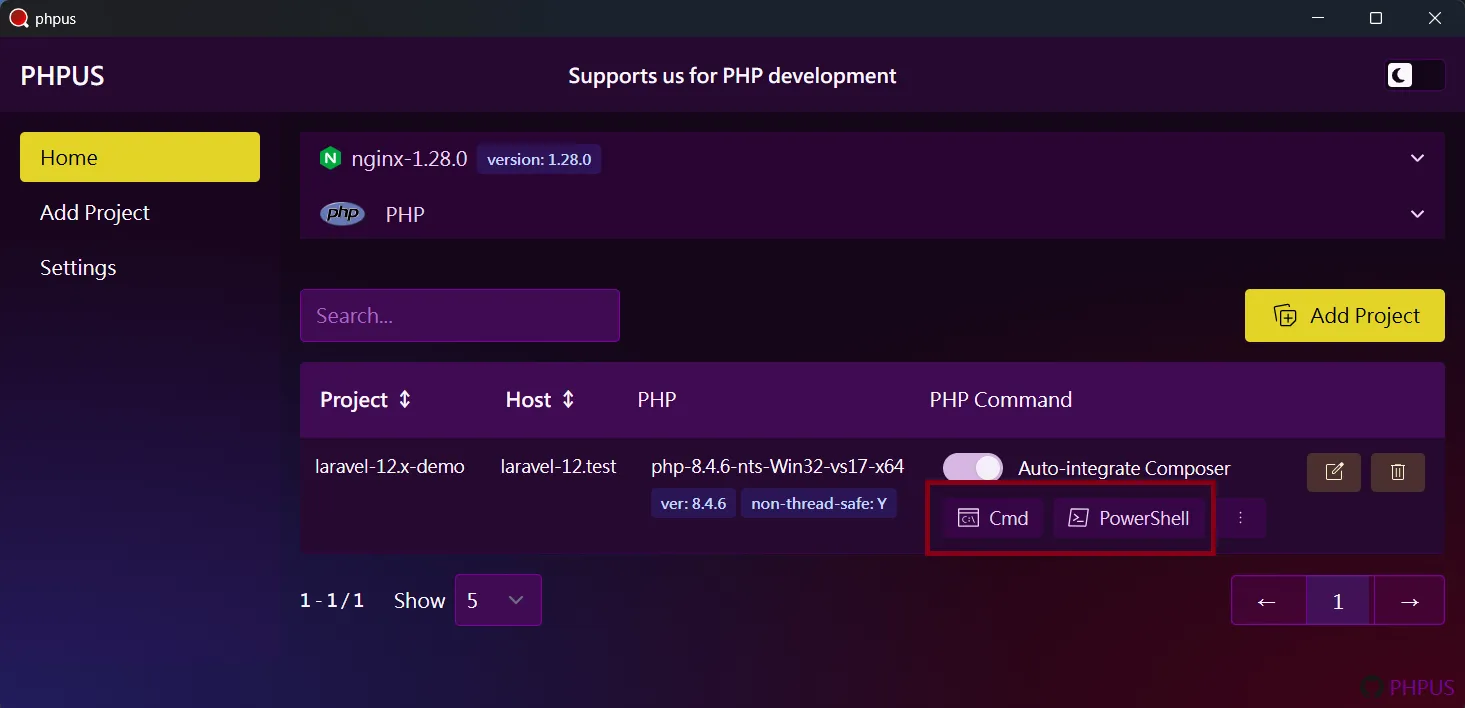
點選 Add 按鈕新增成功後,回到首頁會顯示剛剛新增的專案,如下圖所示:

3. 安裝 PHP
如果已經知道如何安裝 PHP,請在安裝完成後點選
Sync PHP 按鈕即可。如果想知道如何安裝
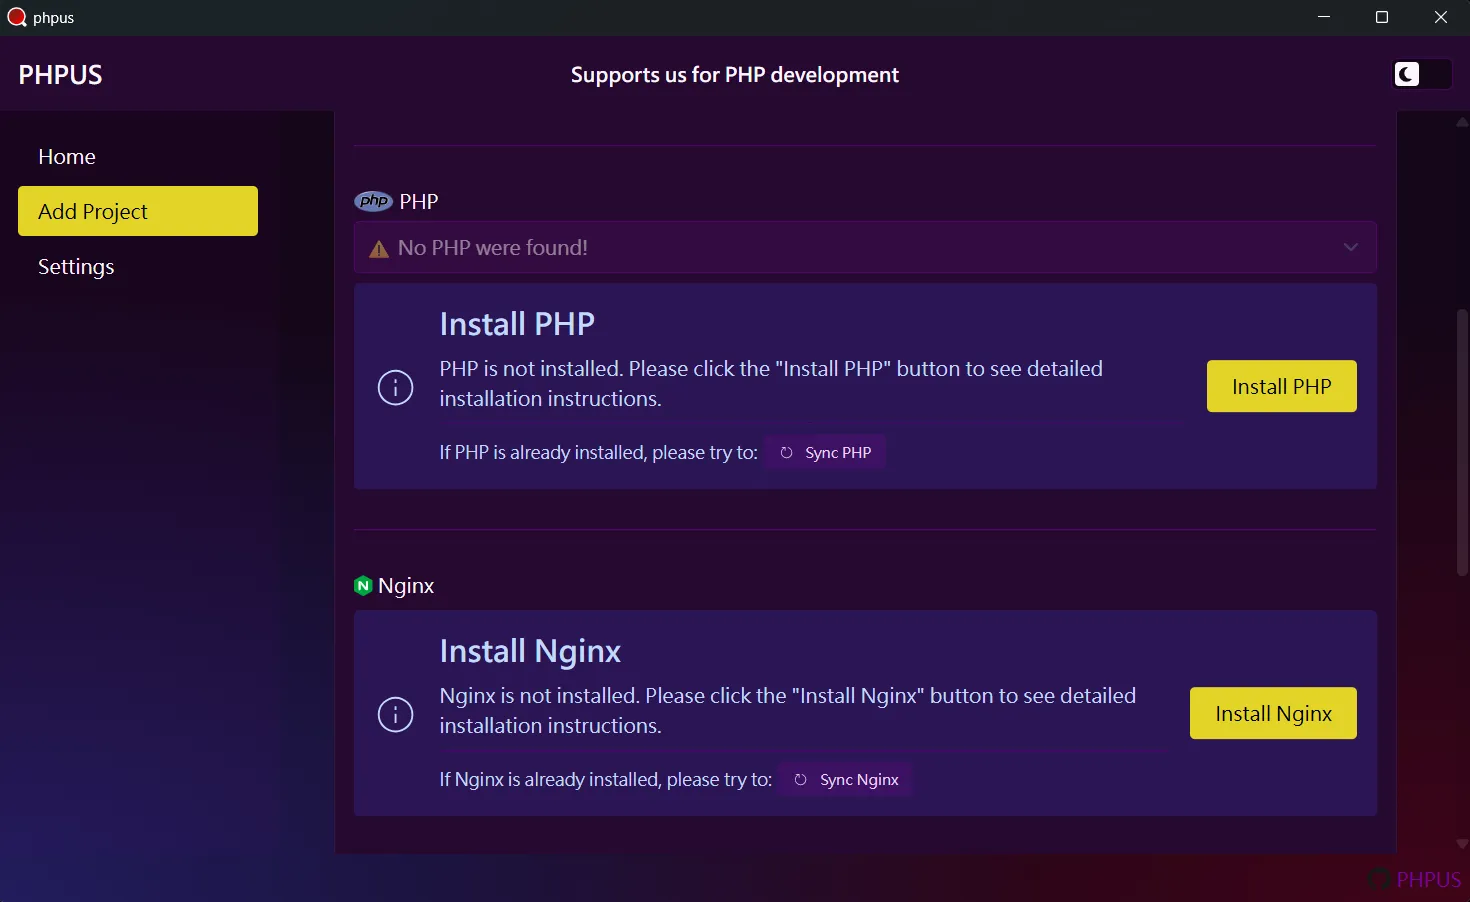
PHP,請參考應用程式提供的步驟,在 Add Project 頁面中,PHP
選項點選 Install PHP 或是
Install Another Version(如果已安裝過
PHP)。也能在首頁 PHP 選項中點選
Install Another Version 安裝。

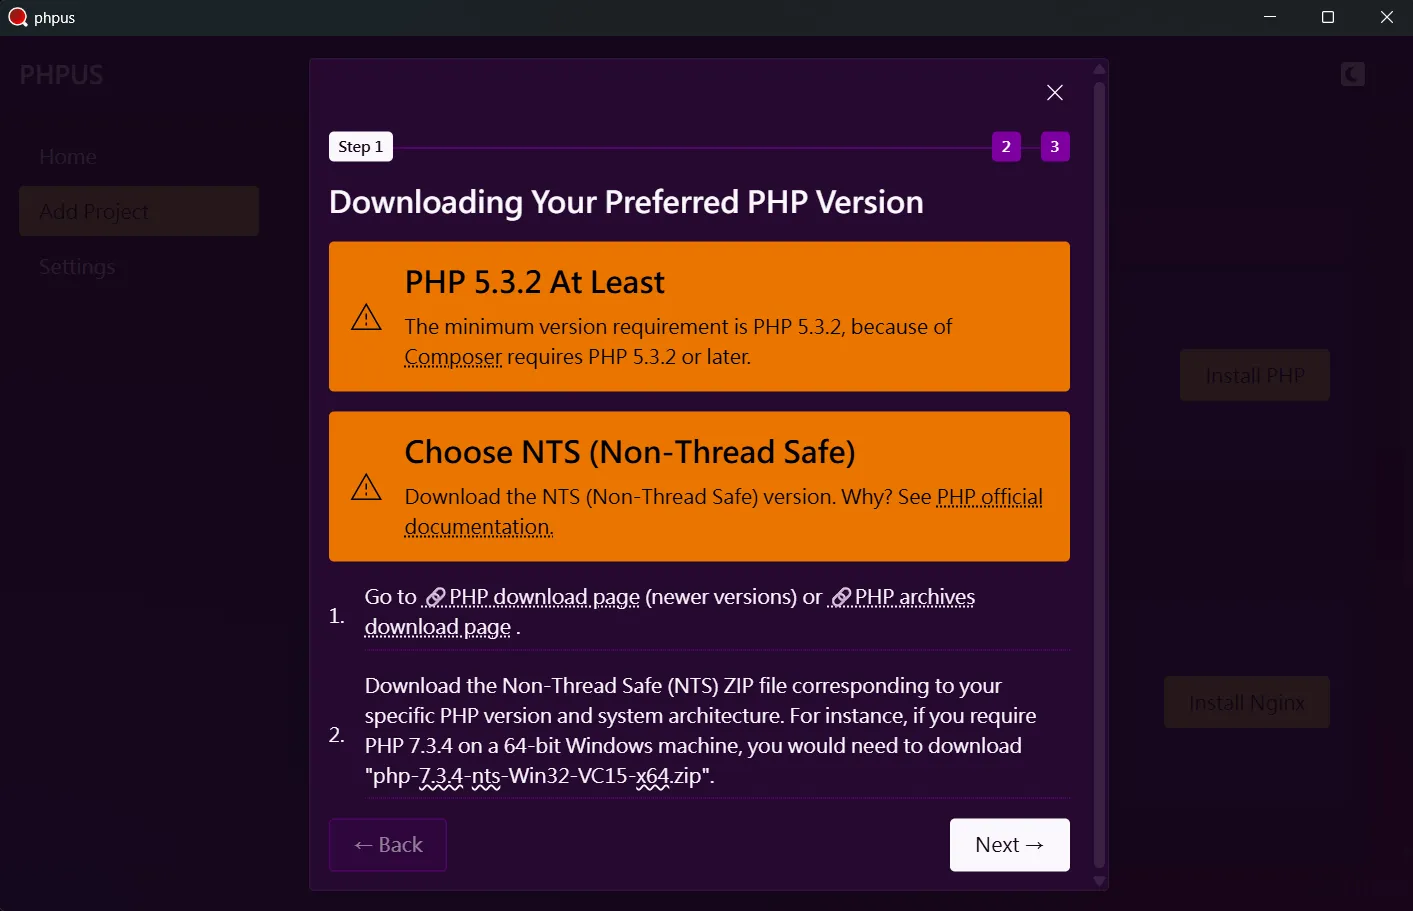
3.1. 第一步,下載需要的 PHP 版本
請至 PHP Archives Download 下載所需版本,在本範例中,下載 PHP 8.4.6。因為應用程式使用 Nginx 透過 FastCGI 與 PHP 連接,所以需要下載 NTS (Non-Thread Safe) 版本。

3.2. 第二步,將 PHP 壓縮檔解壓縮至指定目錄
在第一步驟點選 Next
按鈕來到第二步驟,如下圖:

點選 php directory 開啟 PHP 安裝目錄:

並將下載的 PHP 壓縮檔解壓縮至 php directory
底下,解壓縮後的目錄架構如下圖:

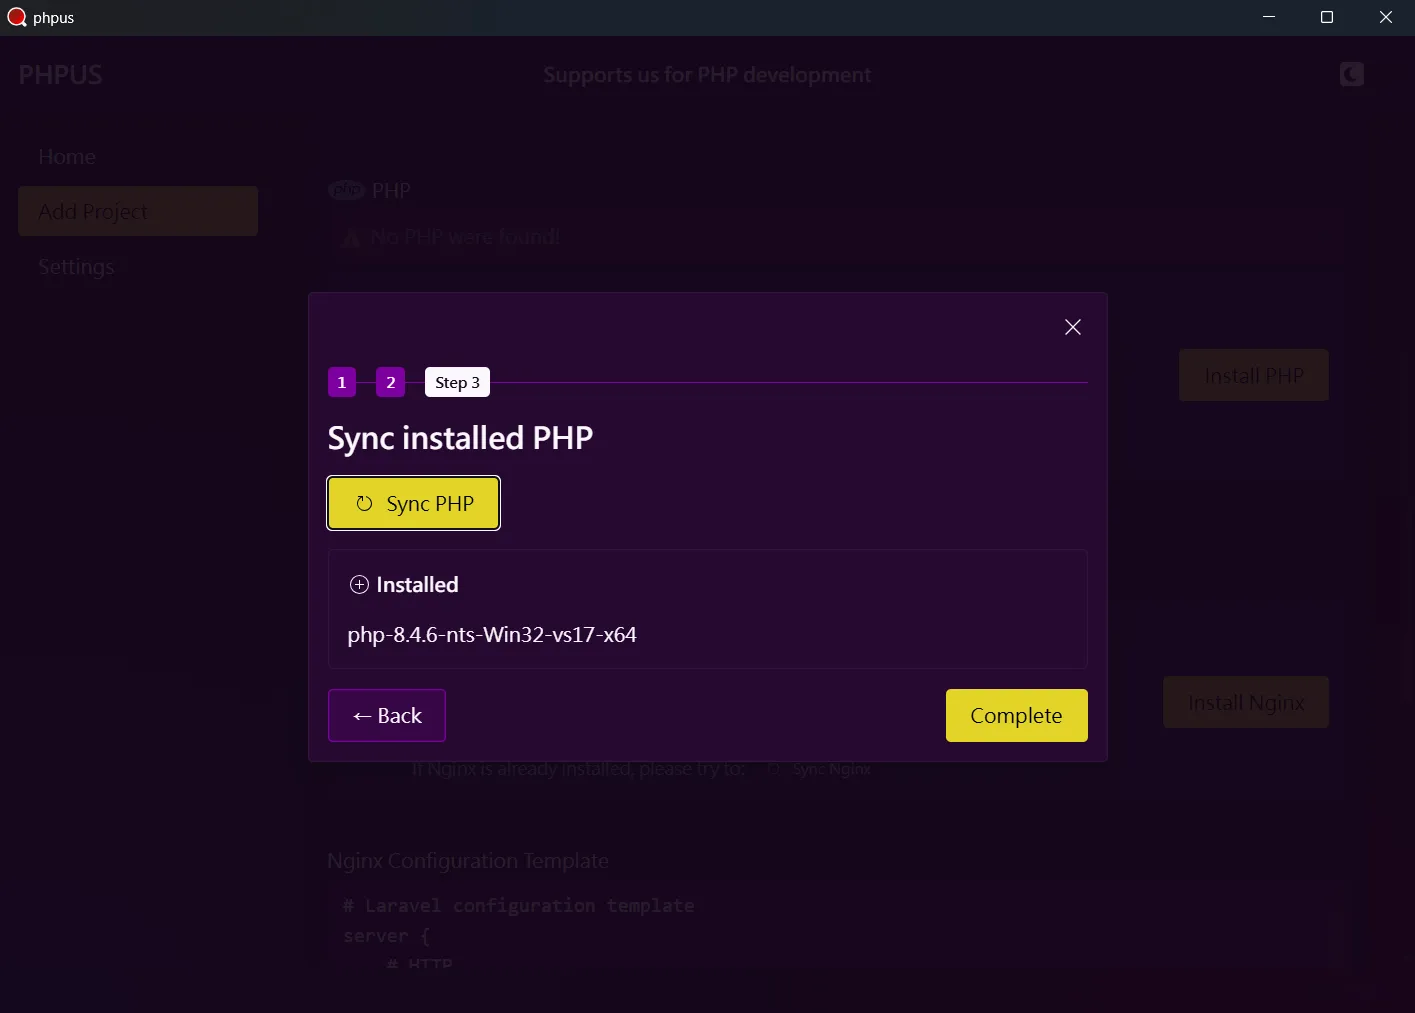
3.3. 第三步,同步並且安裝完成
在第二步驟點選 Next
按鈕來到第三步驟,並且還尚未看到剛剛安裝的 PHP
版本,如下圖:

接著點擊 Sync PHP 按鈕,出現剛剛安裝的 PHP
版本。點擊 Complete 按鈕離開安裝視窗。
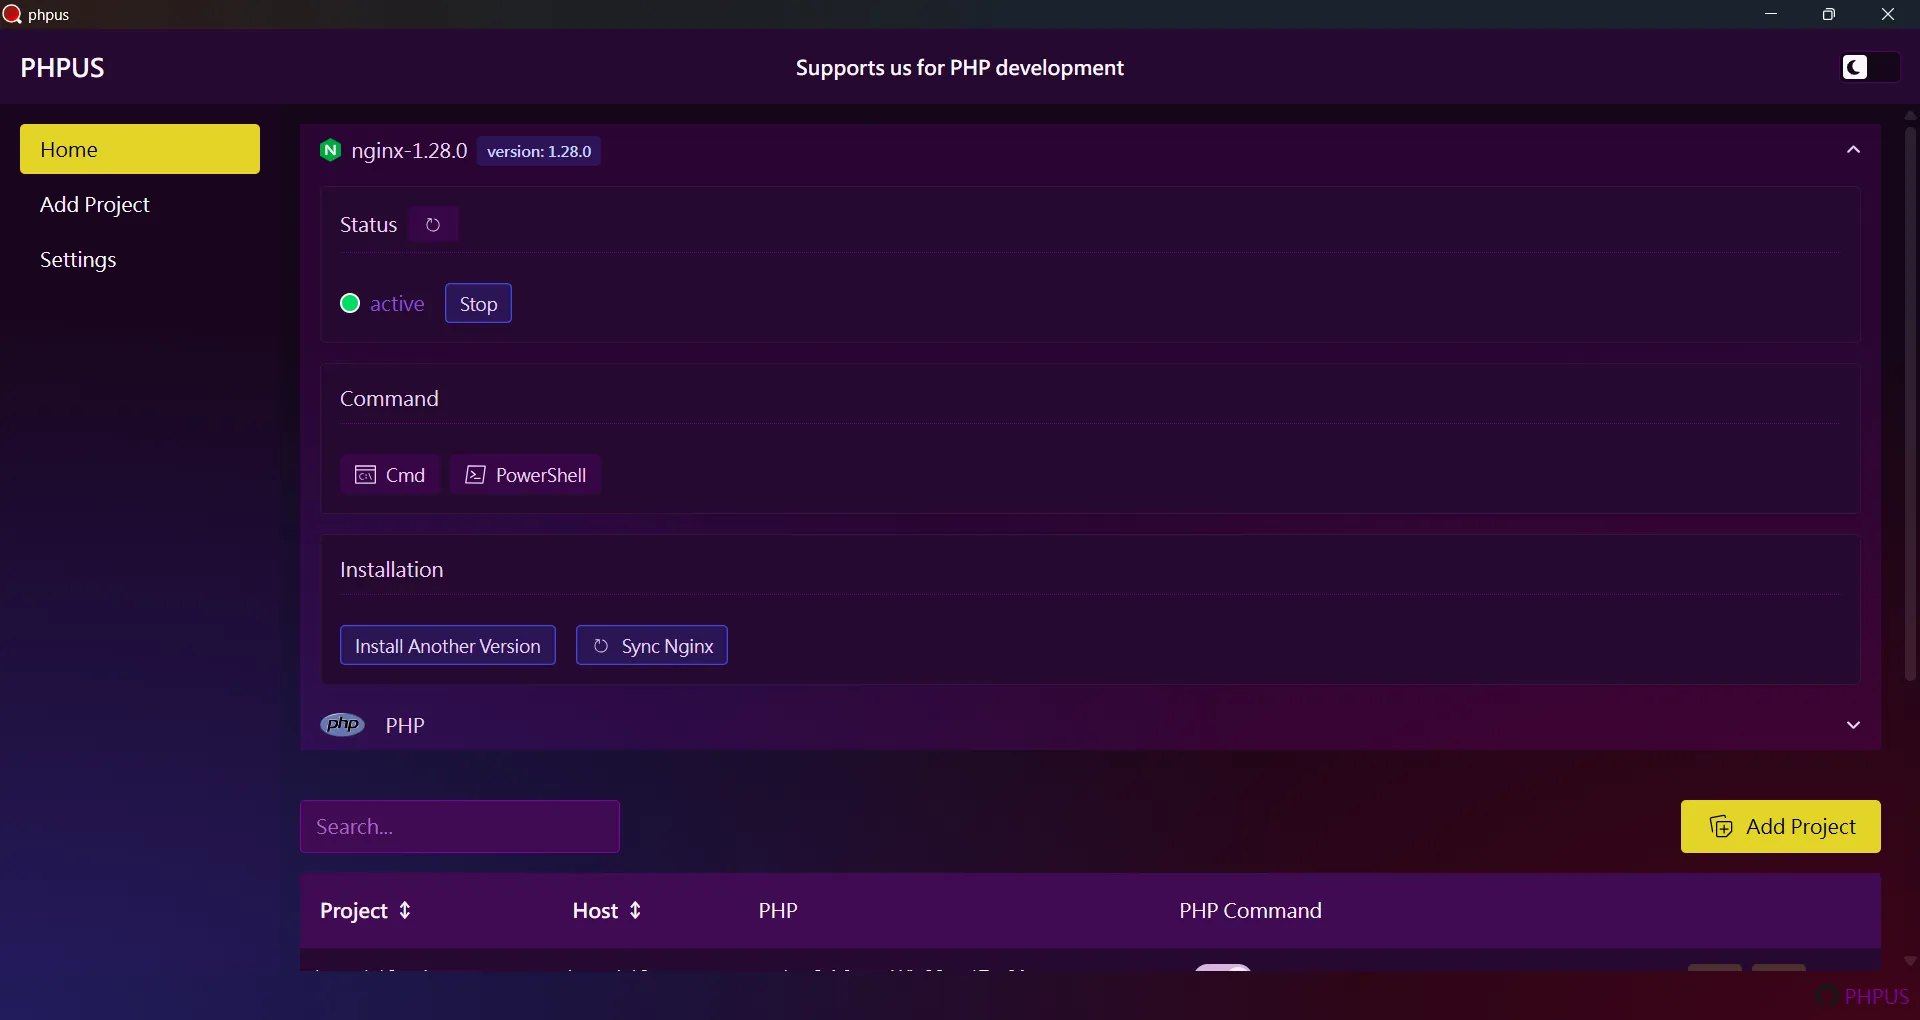
4. 安裝 Nginx
如果已經知道如何安裝,請在安裝完成後點選
Sync Nginx 按鈕即可。如果想知道如何安裝
Nginx,請參考應用程式提供的步驟,在 Add Project
頁面中,Nginx 選項點選 Install Nginx 或是
Install Another Version(如果已安裝過
Nginx)。也能在首頁 Nginx 選項中點選
Install Another Version 安裝。
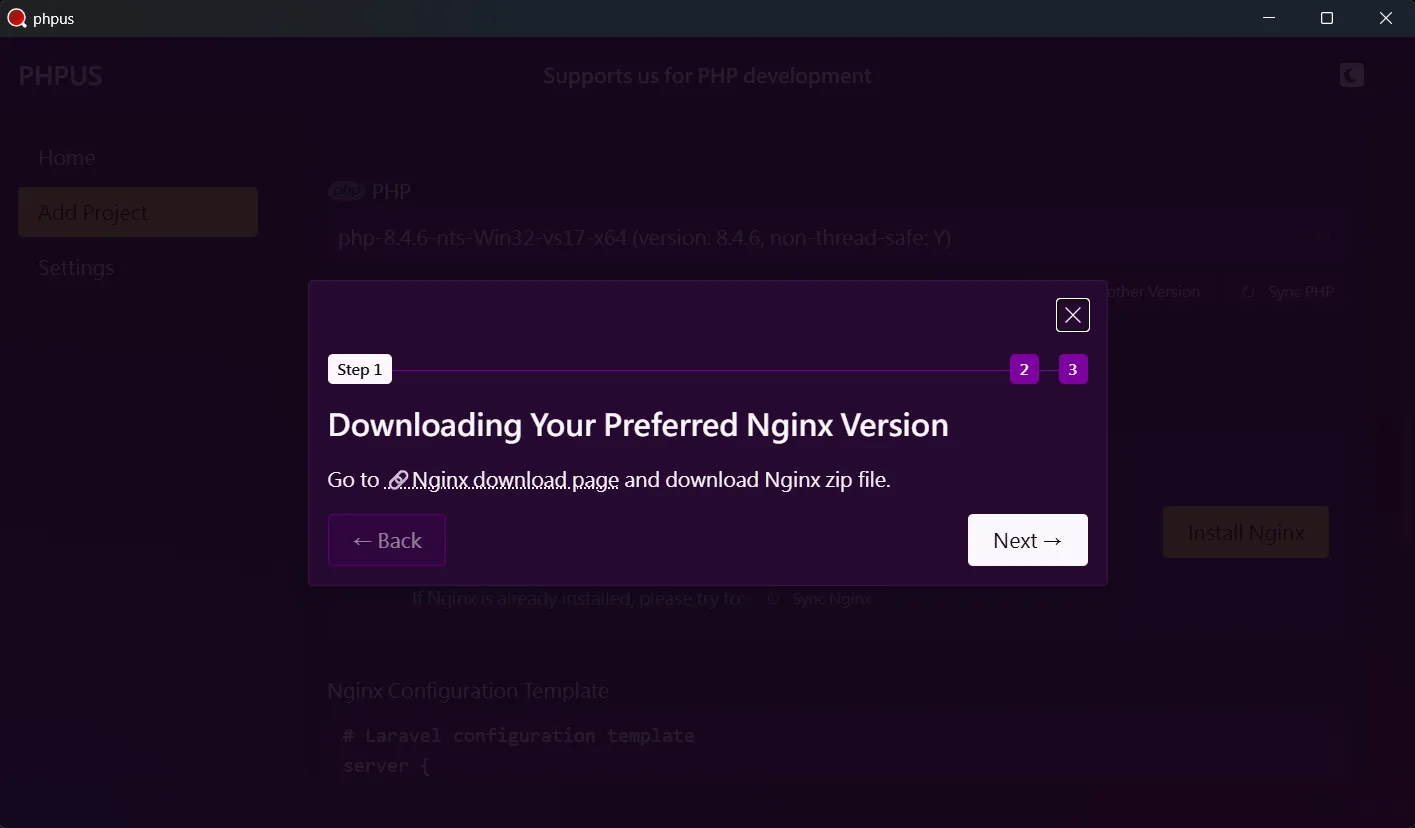

4.2. 第二步,將 Nginx 壓縮檔解壓縮至指定目錄
在第一步驟點選 Next
按鈕來到第二步驟,如下圖:
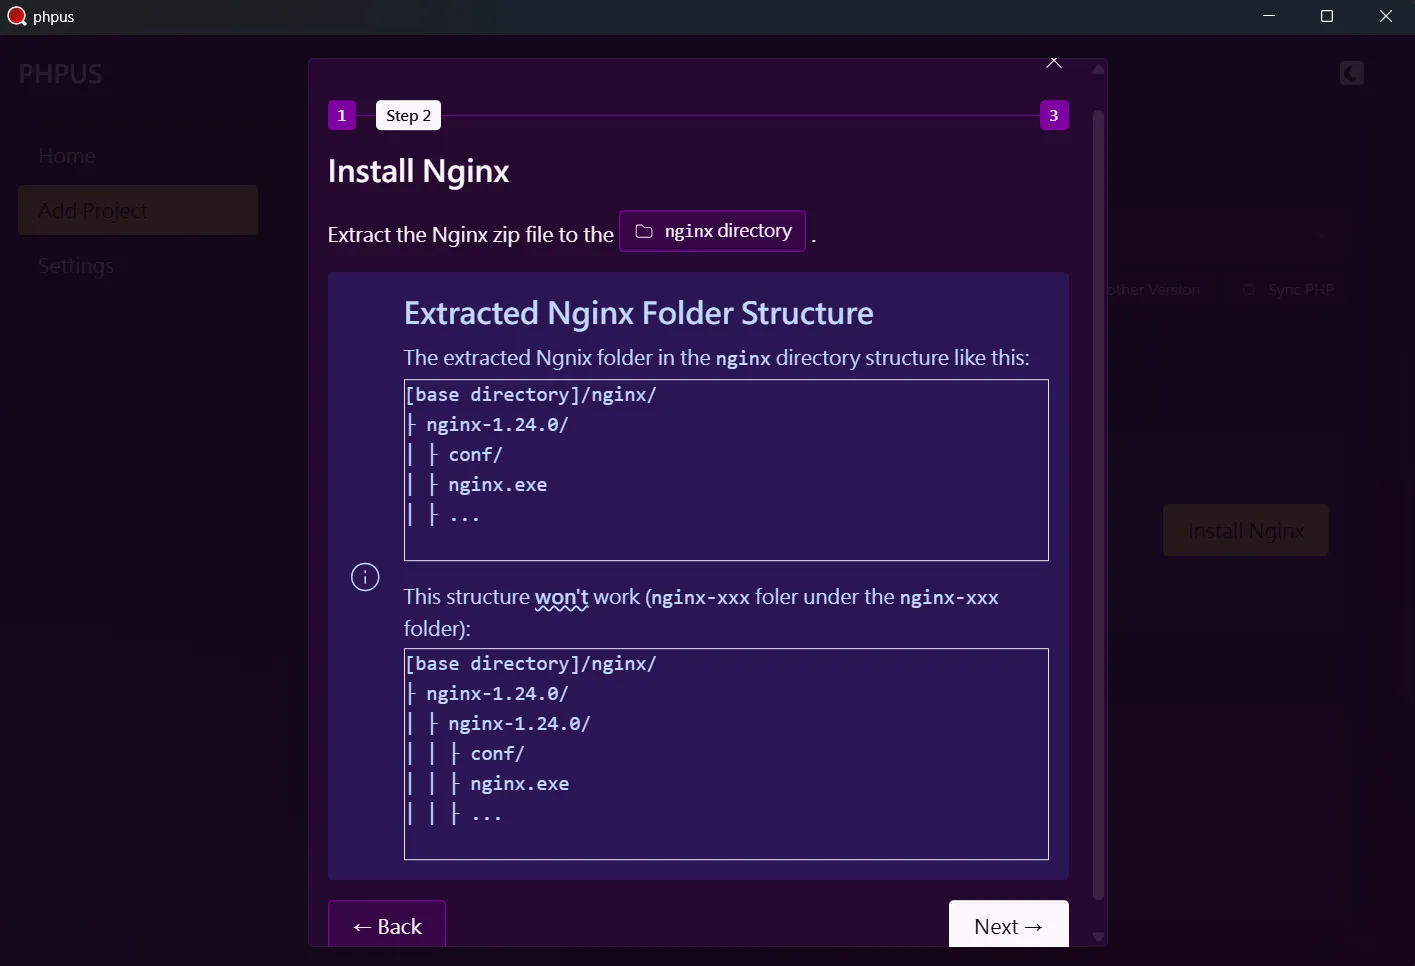
點選 nginx directory 開啟 Nginx 安裝目錄:
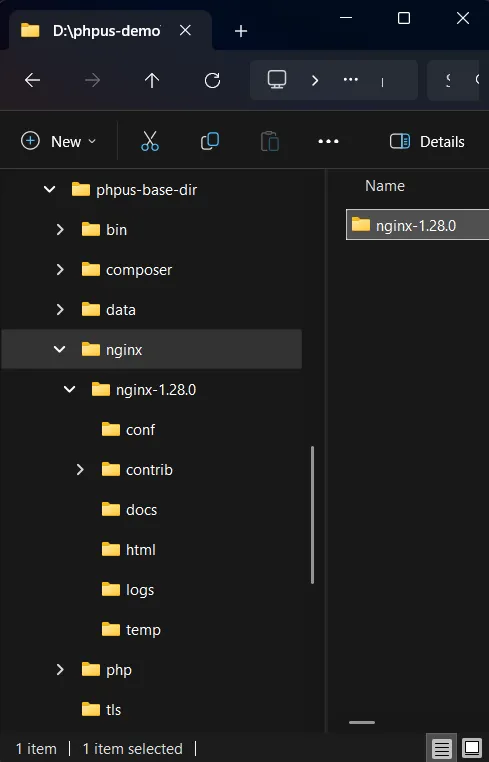
並將下載的 Nginx 壓縮檔解壓縮至
nginx directory 底下,
請注意解縮後可能有兩層目錄
,解壓縮後的目錄架構如下圖:
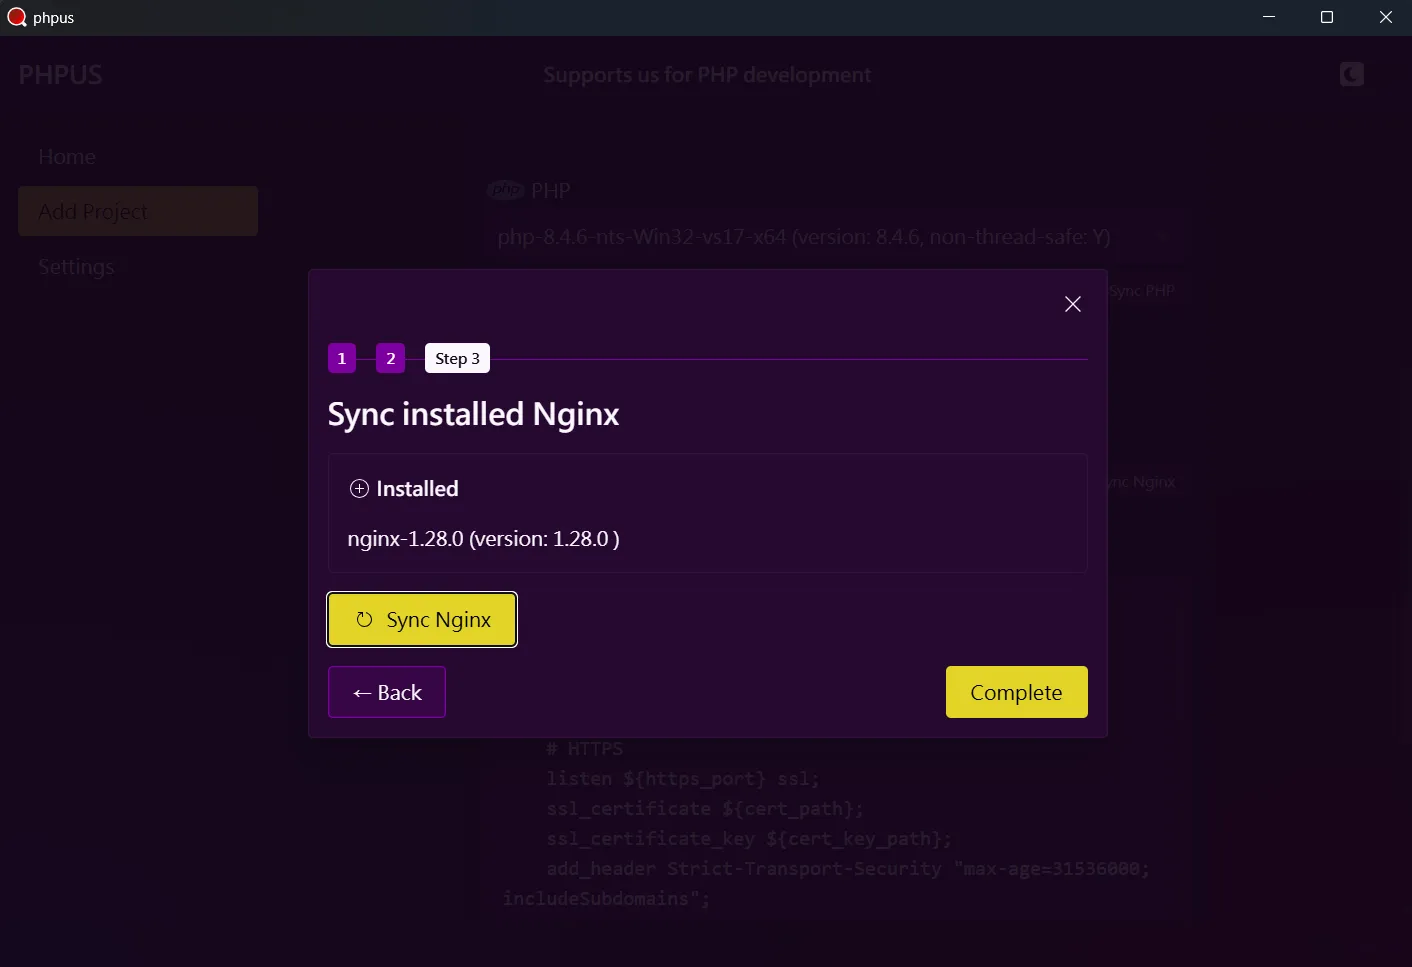
4.3. 第三步,同步並且安裝完成
在第二步驟點選 Next
按鈕來到第三步驟,並且還尚未看到剛剛安裝的 Nginx
版本,如下圖:
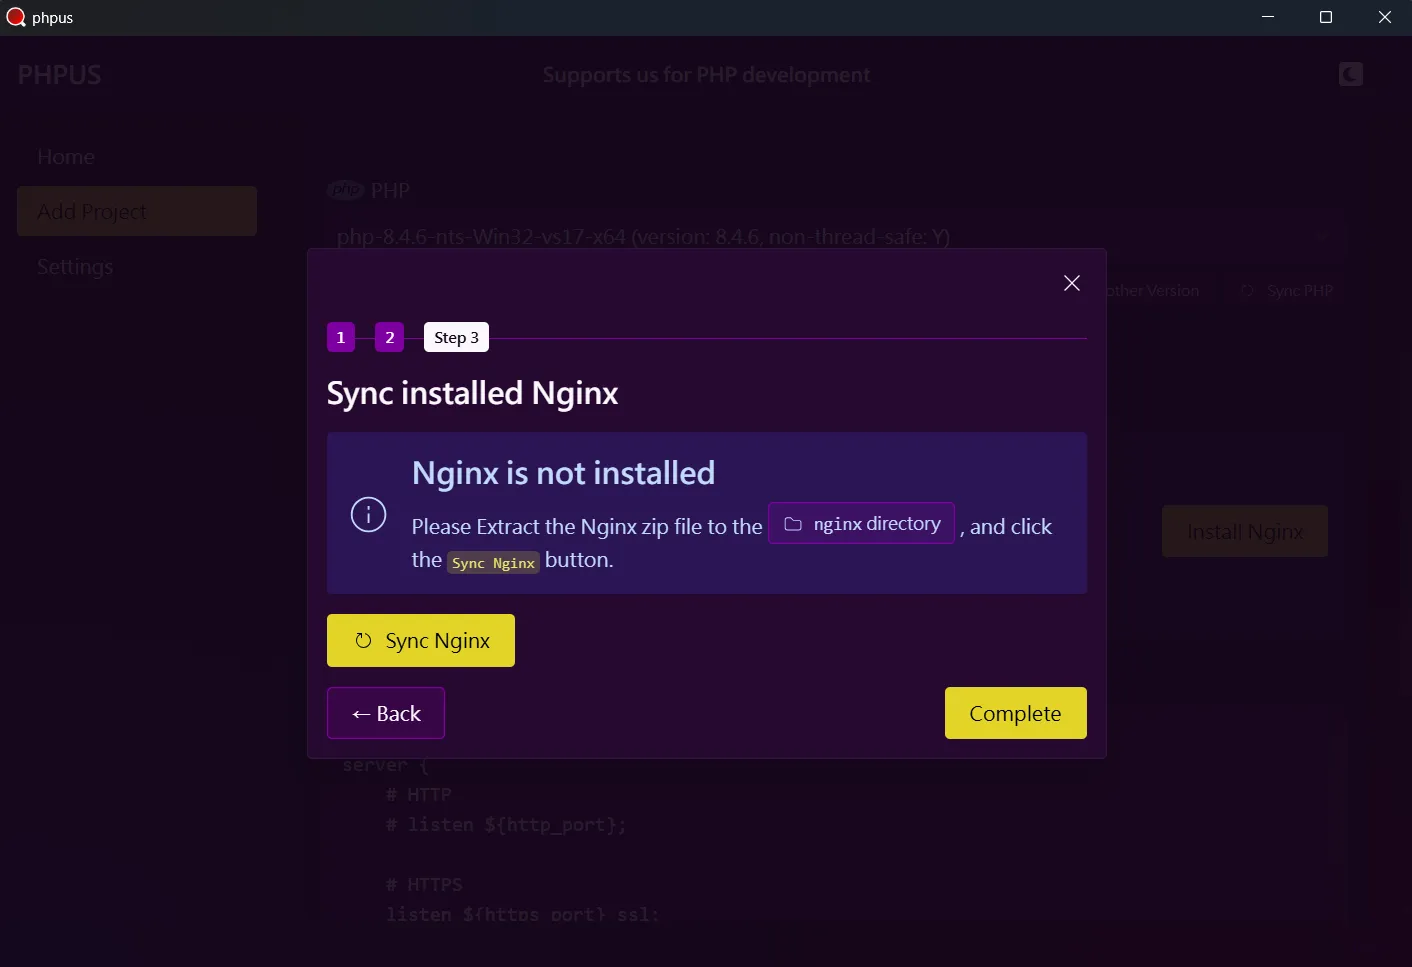
接著點擊 Sync Nginx 按鈕,出現剛剛安裝的
Nginx 版本。點擊
Complete 按鈕離開安裝視窗。
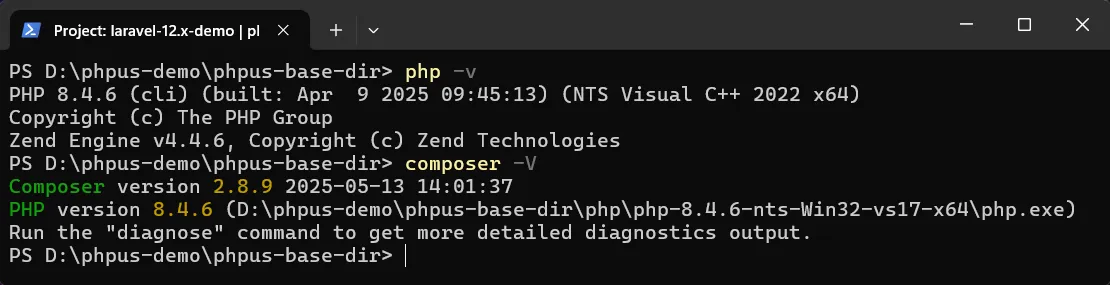
5. 使用 PHP command
我們可以點擊首頁專案表格中 Cmd 或
PowerShell 來使用 PHP command。

6. 設定專案
6.1. 設定 PHP
PHP 擴展(extensions)檔案須放置在安裝的 PHP 目錄下的
ext 目錄。

php.ini 檔案則是在
[base dir]/data/php/[PHP version]/conf/php.ini
6.2. 設定 Laravel 專案
先在首頁點擊專案中 Cmd 或
PowerShell 開啟終端機,在利用
cd 指令移至專案目錄。
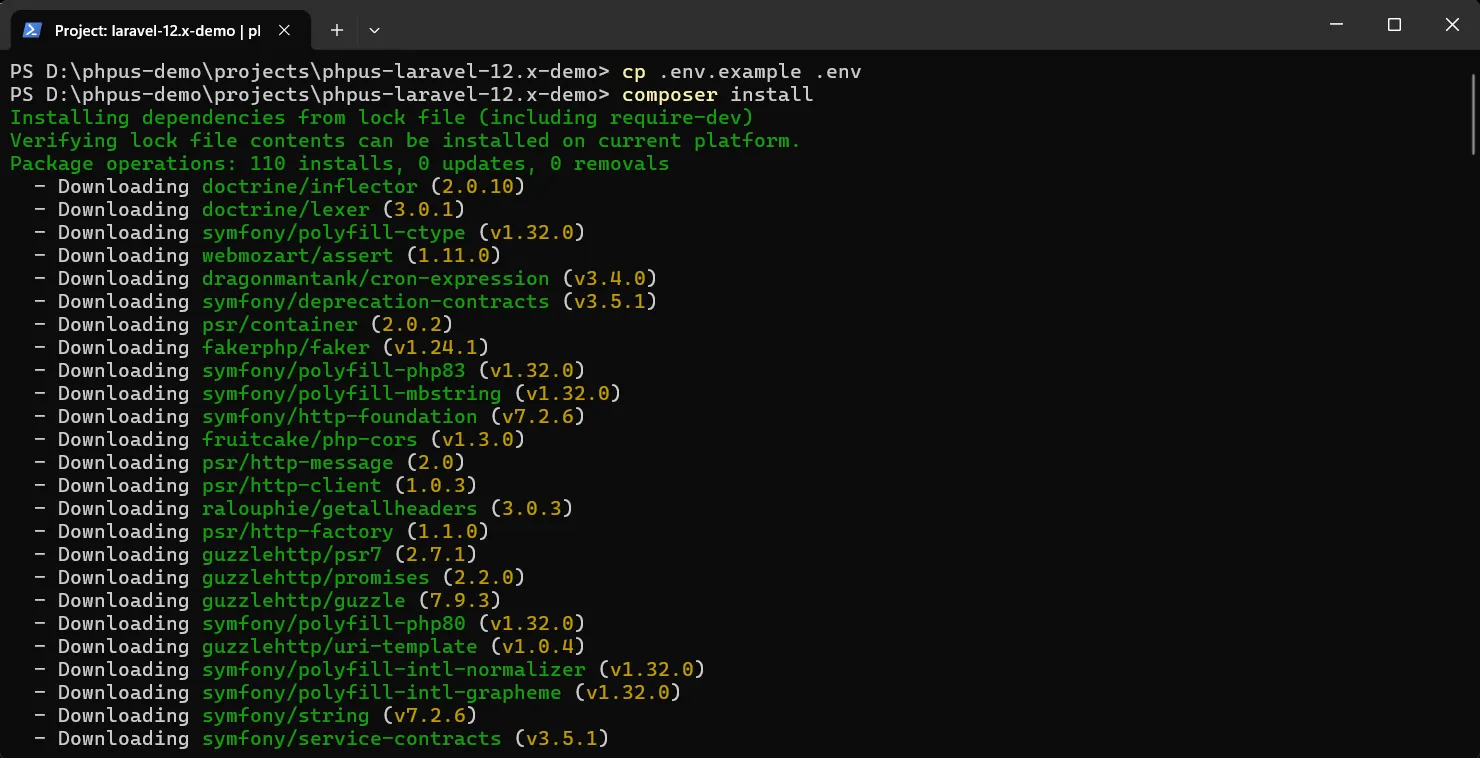
複製 .env.example 並命名 .env:
copy .env.example to .env。 接著執行命令:
composer install
接著執行 php artisan key:generate 和
php artisan migrate 指令:

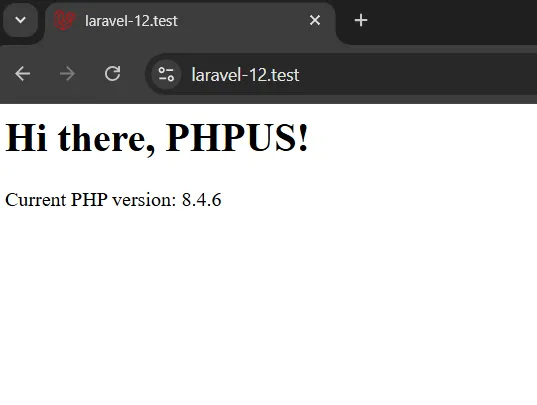
6.3. 開啟網頁
開啟網頁並輸入設定的 host 看是否成功:
7. 多版本 PHP,安裝另一個專案
7.1. 新增並設定新專案
依照上述的教學新增專案,這裡使用的專案是 GitHub - phpus-php7_1-demo 。
PHP 安裝的版本為 PHP7.1。
需要注意的是在新增專案頁面,Nginx Conf 中的
root 要設定好(因為範例專案是純 PHP,非
Laravel 框架的專案)。

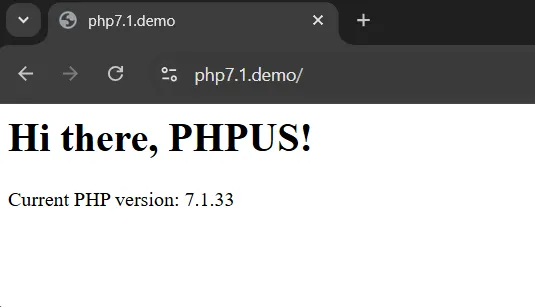
這邊另外用同一個 GitHub - phpus-php7_1-demo 專案,搭配 PHP 5.4 再新增一個專案:
開啟網頁:
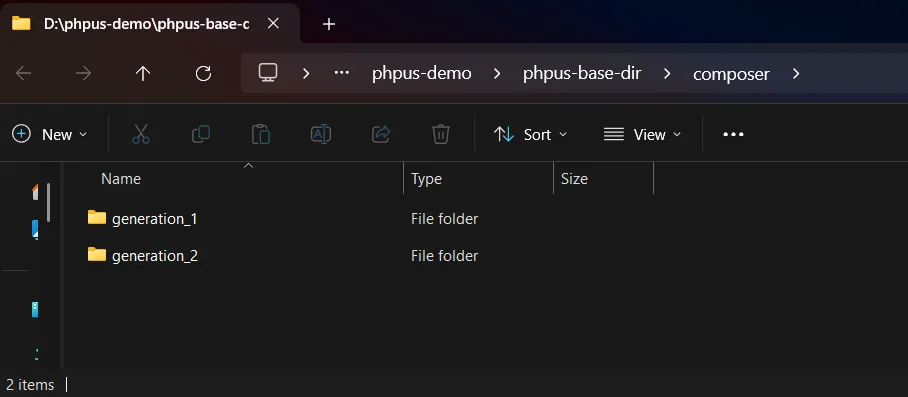
另外,在 [base dir]/composer
目錄下可以看到有兩個 Compoer 版本。